It’s All About the TARDIS!
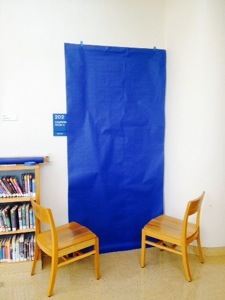
Today is THE day not for the Doctor but for the TARDIS. At long last, the day has come to fruition to construct the TARDIS door. Why did it take so long? I needed the right paper and the right colored paper.
The blue construction paper at work did not work because of the stiffness and the size. The size was decent 11″x18″ which can take up a lot of spa but I would have to do a great deal of cutting. As for the stiffness of the paper, there are edges that I needed to make creases and the amount of tape to use to secure it would have made it look horrendous and the weight would pull away from the tape. To boot, the color was a light blue which was not the proper TARDIS blue. After some store shopping and then online, I found the perfect craft and color from Pacon. Many online stores had the product but because of the added shipping cost it was added almost a 50% cost. I went through Amazon and got free shipping through my Prime membership. As you can see from the pic above, I think I made a wise investment even though it delayed me.
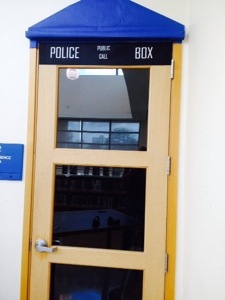
For the picture above, my colleague, using her small scale TARDIS toy, created the roof and was able to create a paper ledge. Her input on this project has been amazing. Once she was done, I placed the already created sign for the Police Call Box. These were the easy parts compared to the rest of the TARDIS.
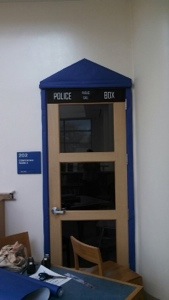
The next part was to cover the outside molding of the door. In addition, the door frame was not flush. There was a smaller frame attached to the inner part of the frame. We had to make sure that the inner frame and the outer frame was covered by the same piece of craft paper. The side with the door hinges had its own problems with the hinges and the inner door frame but was a bit easier as we did not have to cover the side of the outer frame since you can’t see it.
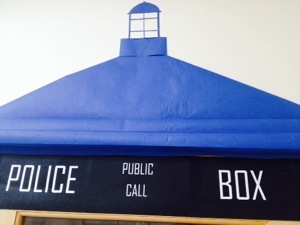
After lunch, my colleague worked on creating the light on top of the Police Box. With an exacto knife, she was able to cut a very delicate frame. Since the wall was white, there was no need to add white paper. My contribution to make the square box which sits on top of the roof for the light to sit on. Again, consulting the toy TARDIS helped us to create this effect.
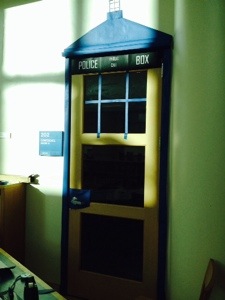
The next part was to add 1″ strips of paper to create the window pane. There was an idea to use white paper in the window and the place the paper window panes. For the sake of time, the white paper was left out.
Next, we could not hang a straight sheet of rolled paper, tape it to the door and be done with it. The top window had to be cut out and well as the two panels below. I opted to make decision to have the outer part of the door covered. Once those were done, I would cover the horizontal bars as a coverup since the hinges were more of a problem as well as the door knob. For the last two windows, my colleague mentioned to place the paper in the back; it was a cheat but it got use through. Finishing the last bit of the horizontal bars, I was coming down to the end of the day at work. So, the next picture is the final results – sort of.
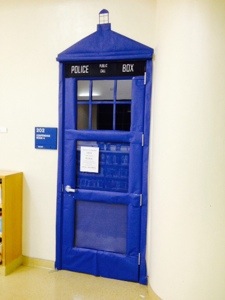
I am truly pleased with the results considering how much time was spent in creating this library TARDIS door. This display will be part of my Scifi winter wonderland young adults display for December. As with all things, I will come back on Monday to work to add a picture of the Doctor looking out from inside the TARDIS. This was my daughter’s idea which I truly love.
Well, what do you think?

Reblogged this on The Monster Scifi Show.
LikeLike